|
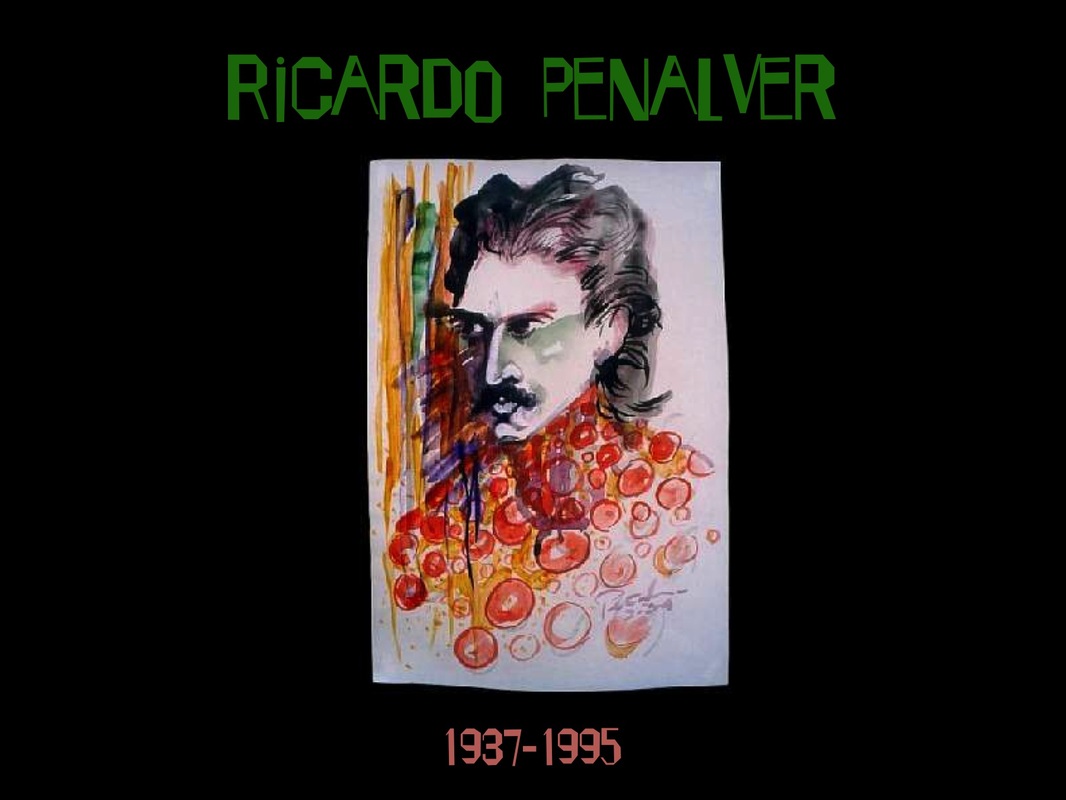
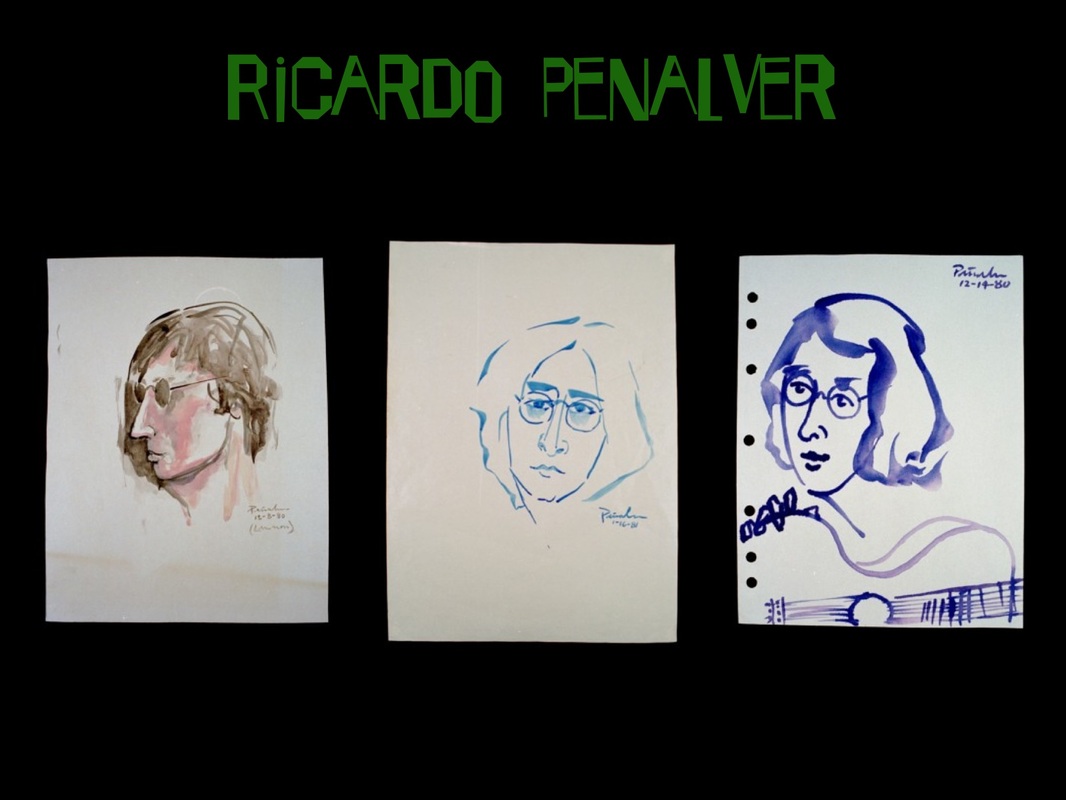
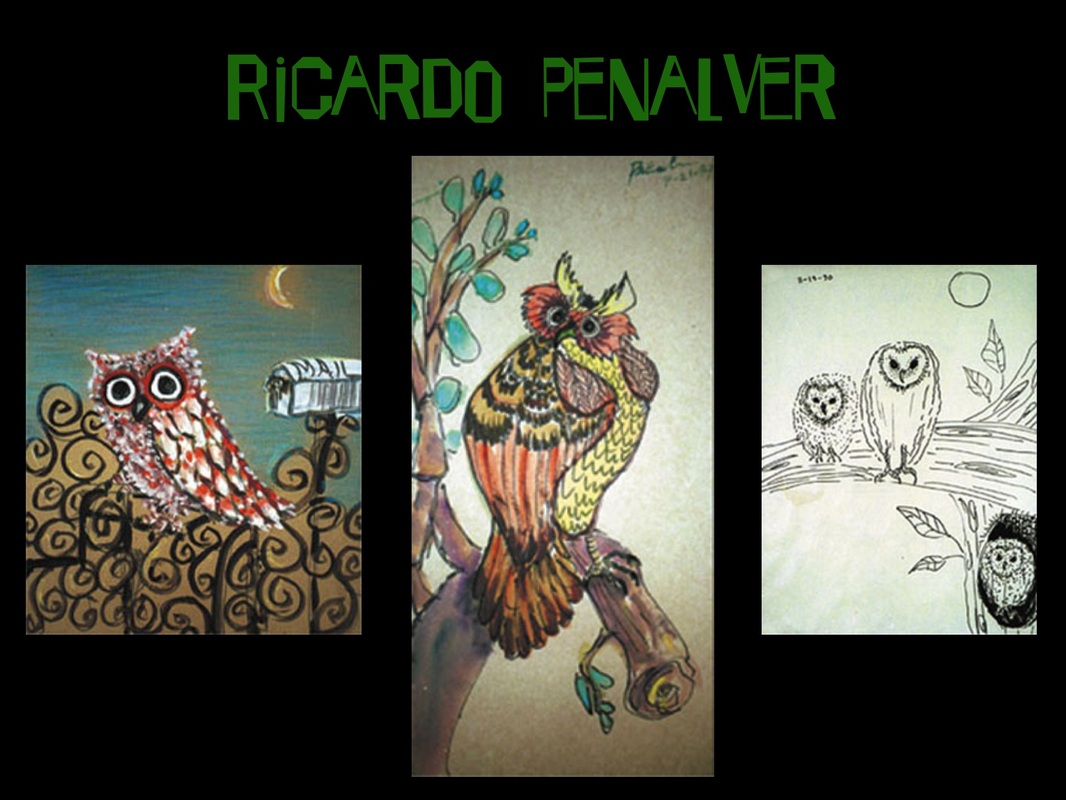
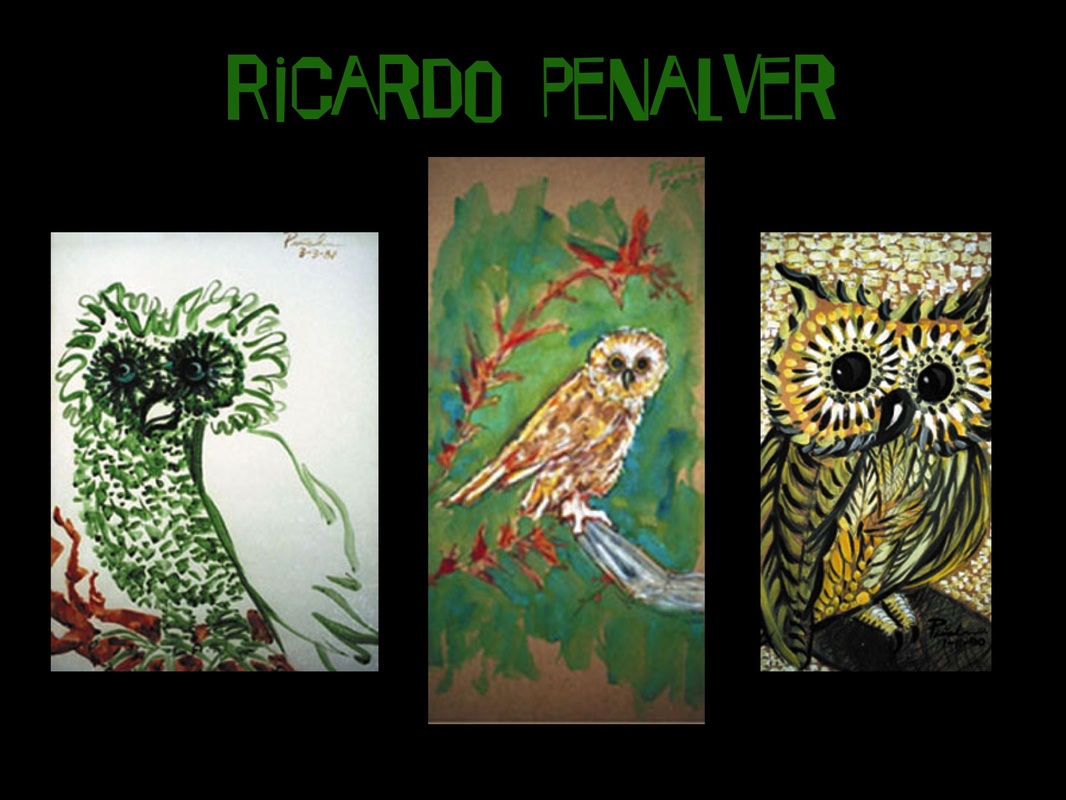
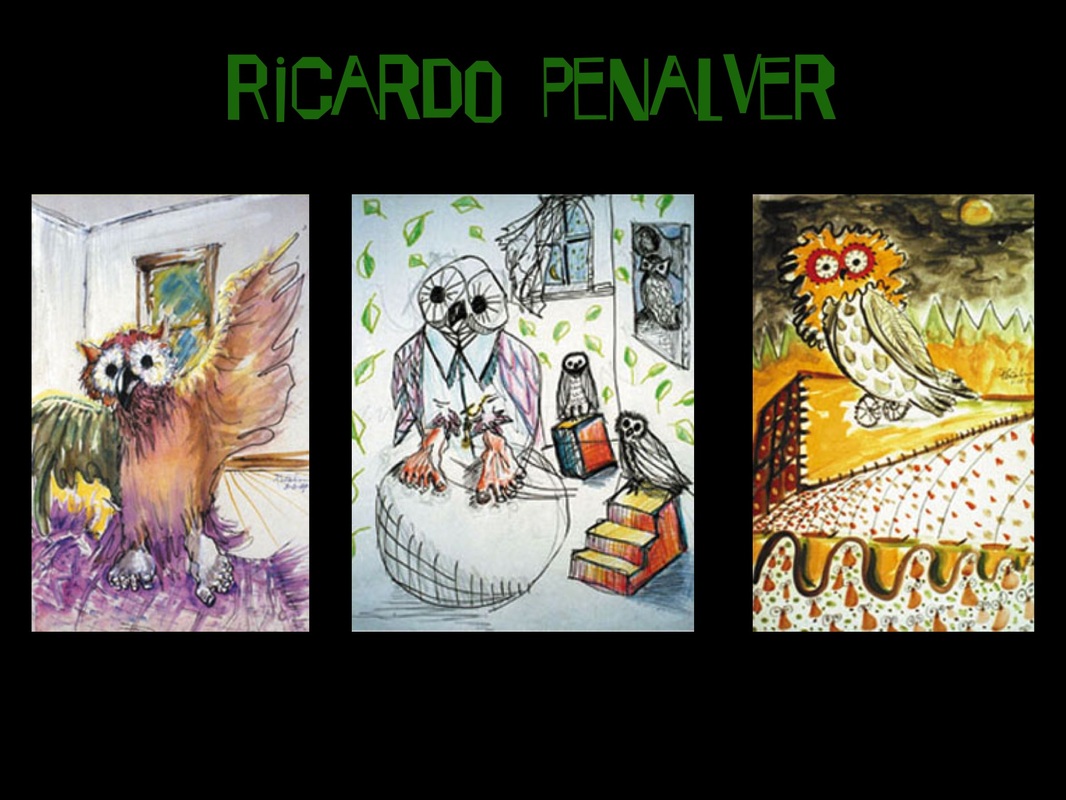
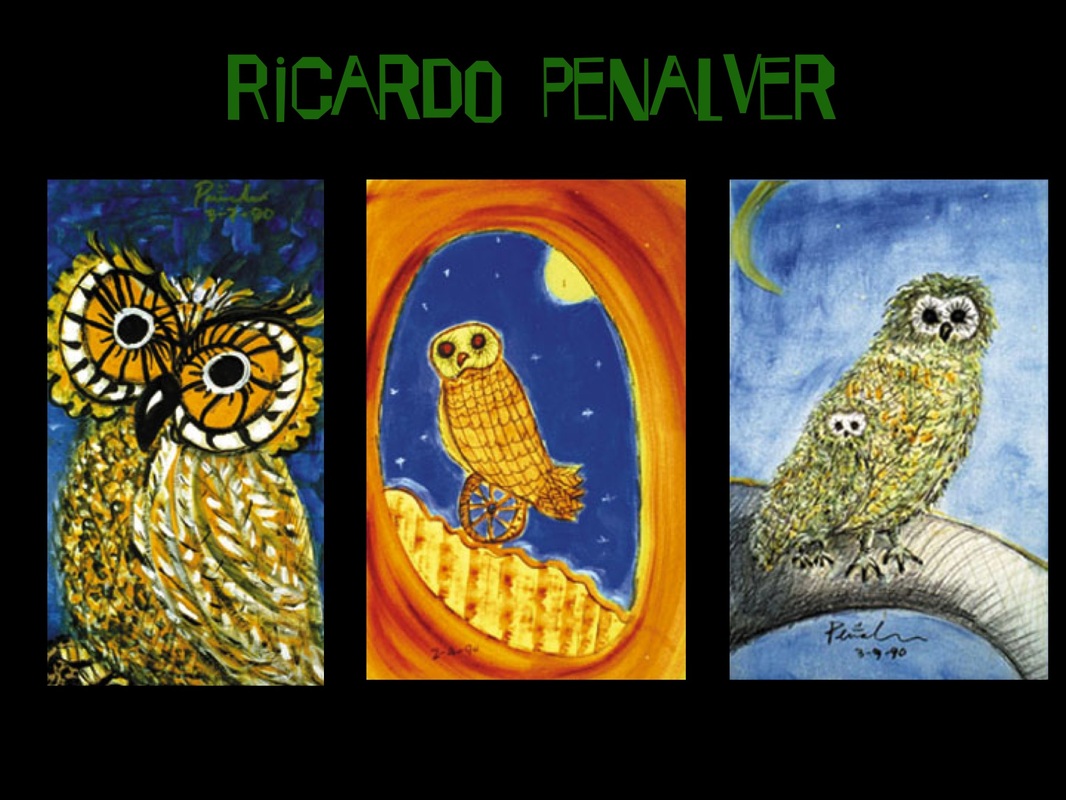
A lot has been going on with third graders in the art room since they were tangled up in their crazy hair! Just before December vacation, students finished their first clay project: photo frames. You can read all about their clay experience on the "all grades" page, by clicking here. Last week, students finished another project on which they spent many classes, and worked very hard: Oil Pastel Owls. It was a long process (though one that was thoroughly enjoyed by both the students and myself), but one that was definitely worth it, as the final artworks show. Let's take a look and see how it was done! To start, students viewed a PowerPoint presentation and learned about artist Ricardo Penalver. We talked about his life and observed and discussed his artwork. Next, I read the book "Owls of the Enchanted Forest," by Keith Harary to the class. The book is a fictional story about how Penalver got his inspiration to create his owl paintings. Each owl represents a positive character trait that helps make the world a better place. 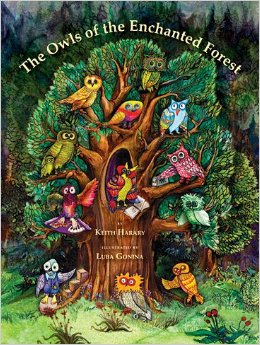 Here's a cute video that I found on YouTube that goes into the Enchanted Forest with the owls: After reading the book, students were given a handout that described the whole project to them. The handout answered the following questions: What am I doing? Why am I doing it? How do I do it? Once we had gone over everything, and students showed understanding of the task ahead, it was time to begin! The first step was to brainstorm. Students used their sketchbooks to sketch different owl design ideas (several owl books were provided for students to reference, if they chose to do so), and also to decide which character trait their owl would represent. The choices, based on Penalver's own owls, were: knowledge, curiosity, hope, forgiveness, ability, responsibility, joy, enthusiasm, creativity, communication, generosity, or independence. 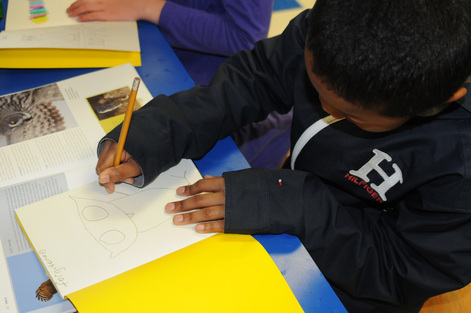 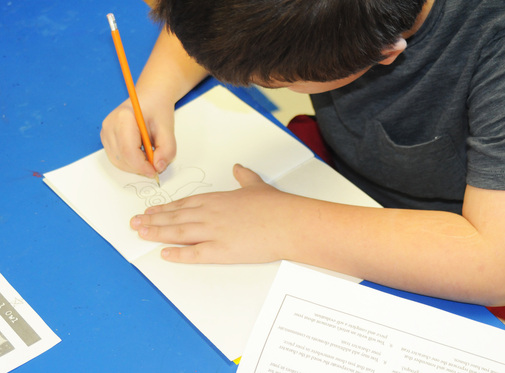 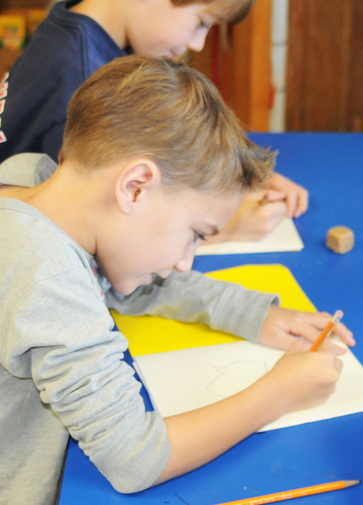 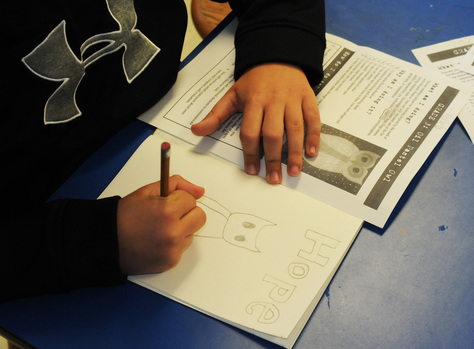  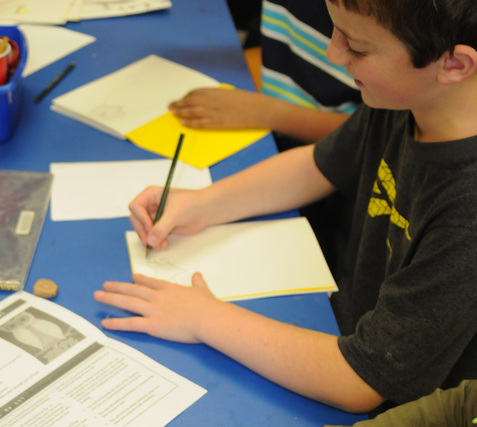 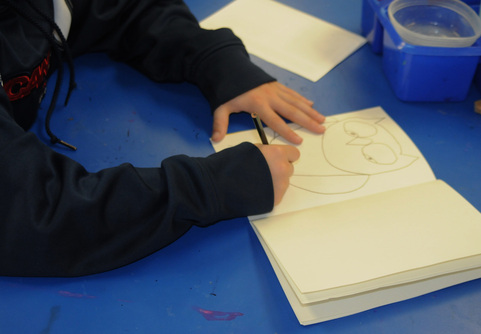 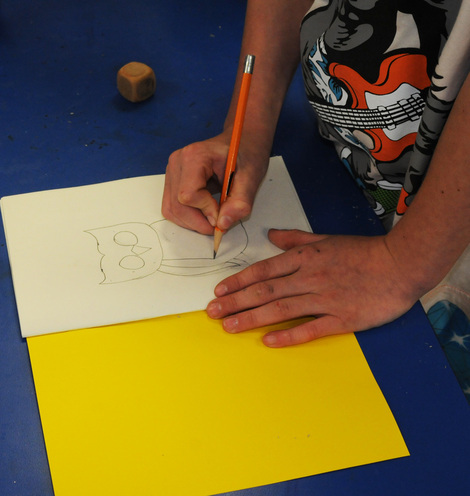 During the next lesson, students were introduced to oil pastels. They experimented with this new media in their sketchbooks, and also used them to help decide which colors they were going to use for their limited palette (students were limited to two colors, but could use different shades/tones of each). We also talked about visual texture, and students were shown how to create it using oil pastels.  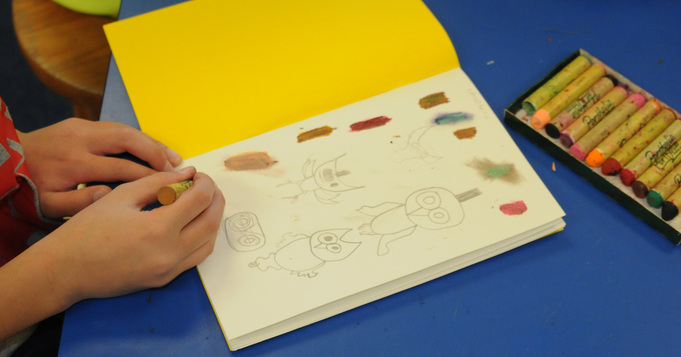 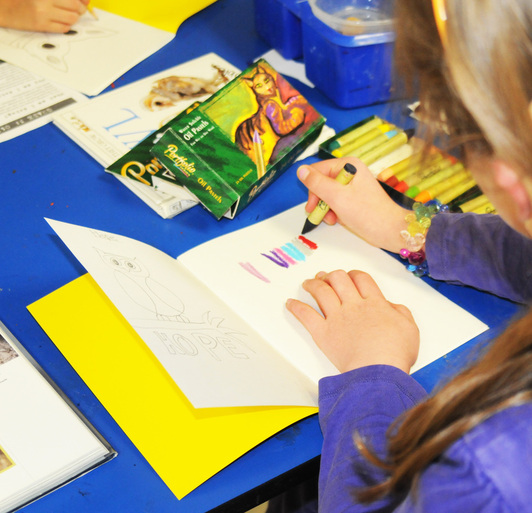 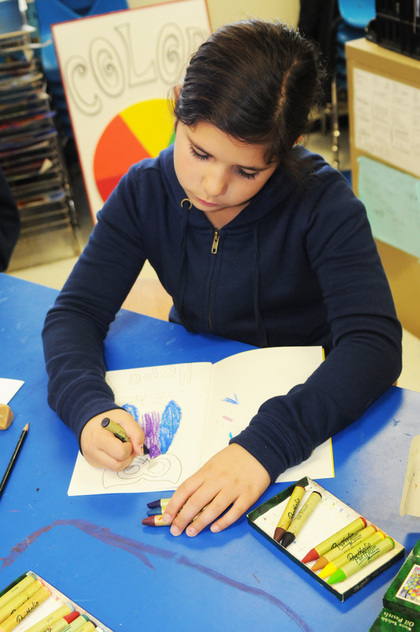 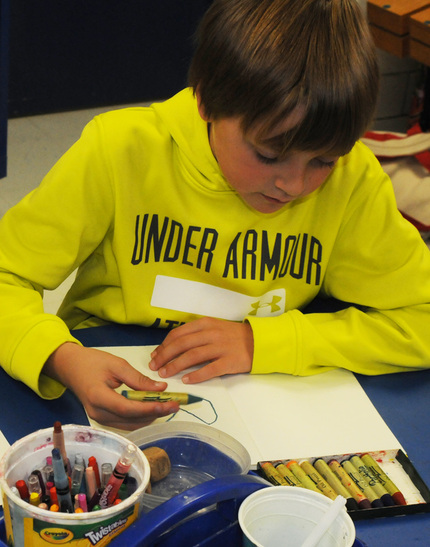 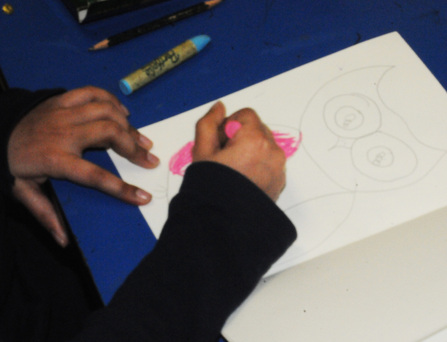 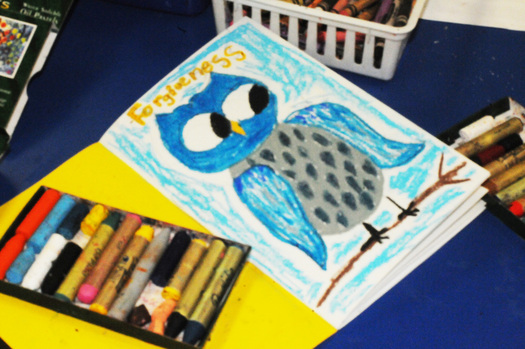 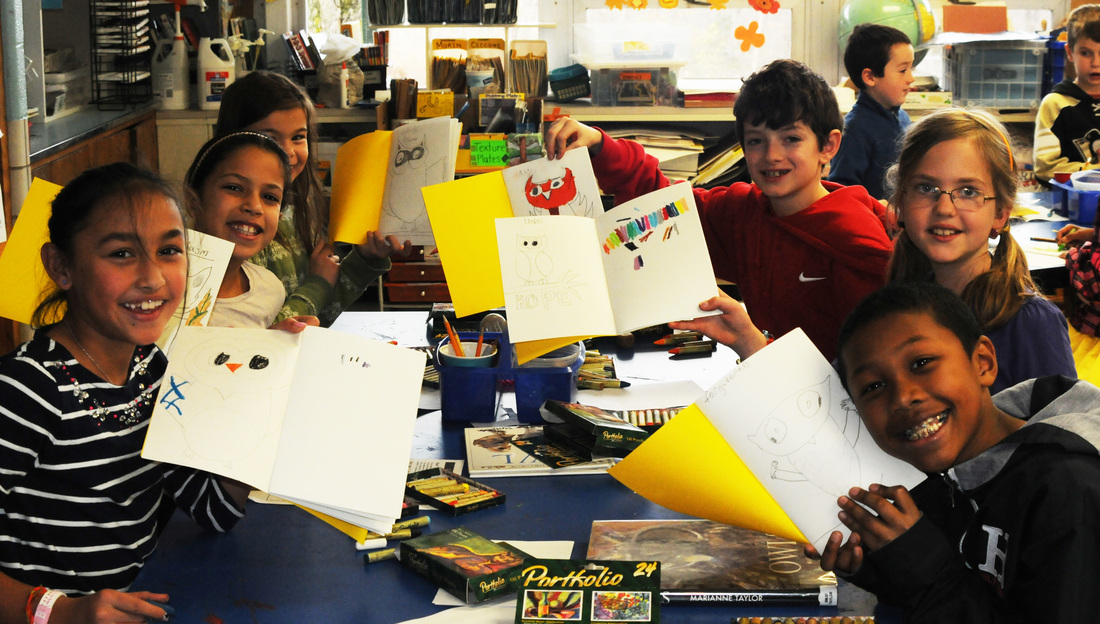 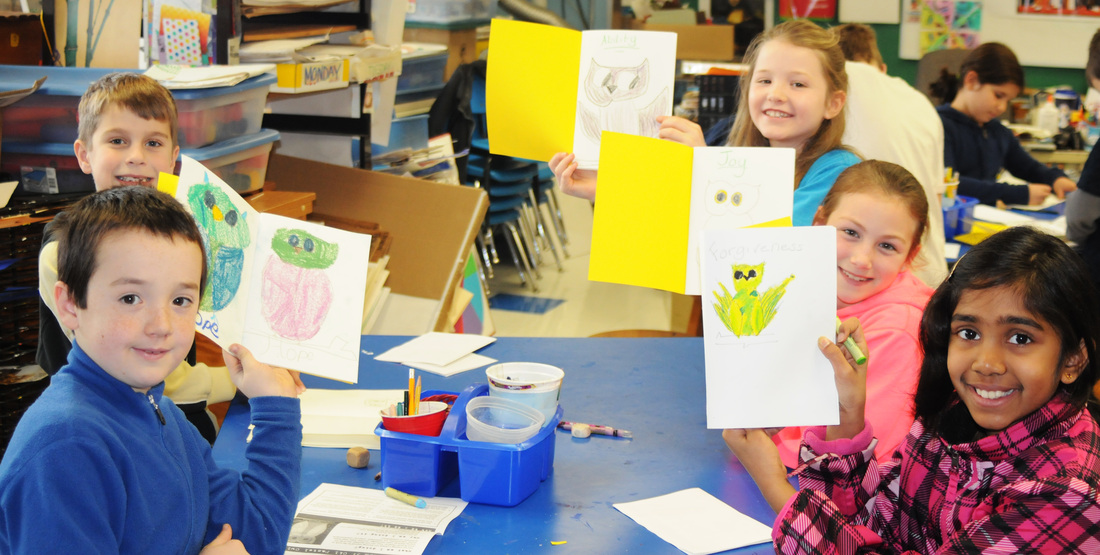 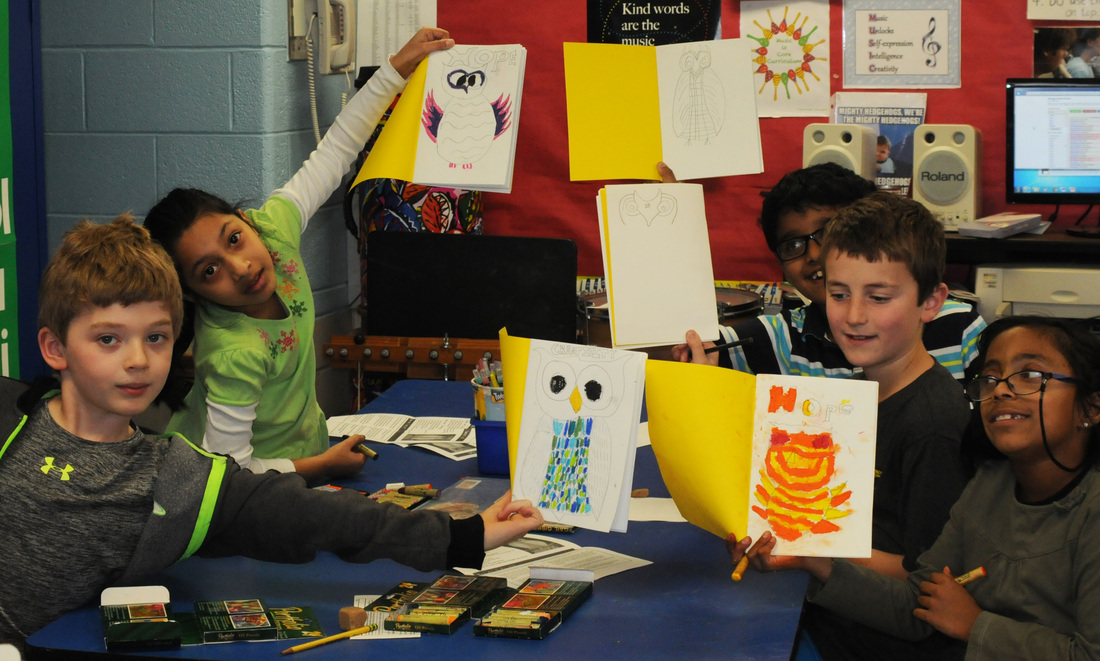 Once all preliminary sketchbook work was complete, it was time to begin the real thing! Students first drew their owls lightly in pencil, and then colored them with the oil pastels. 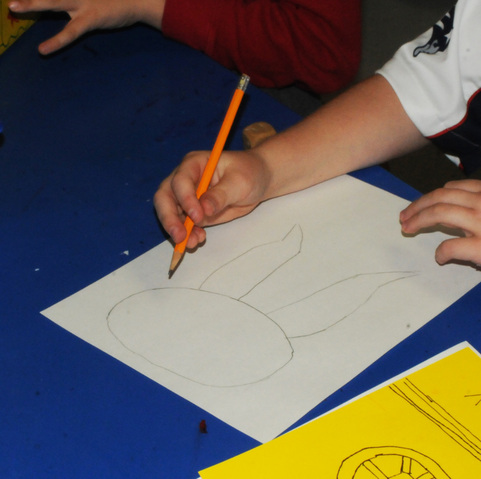 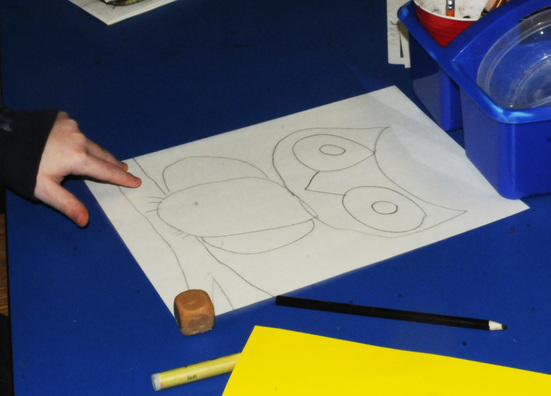 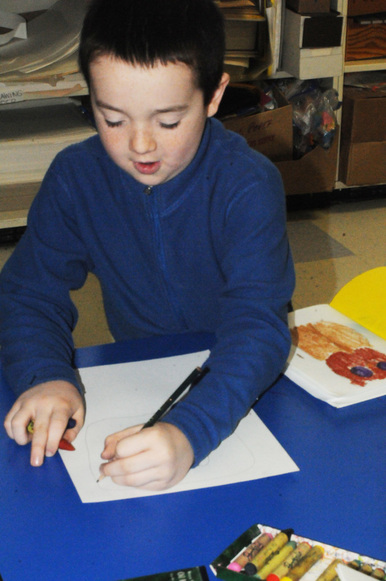 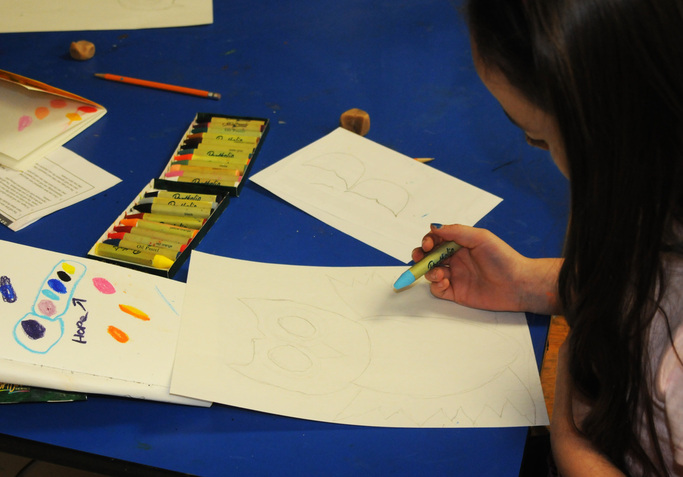 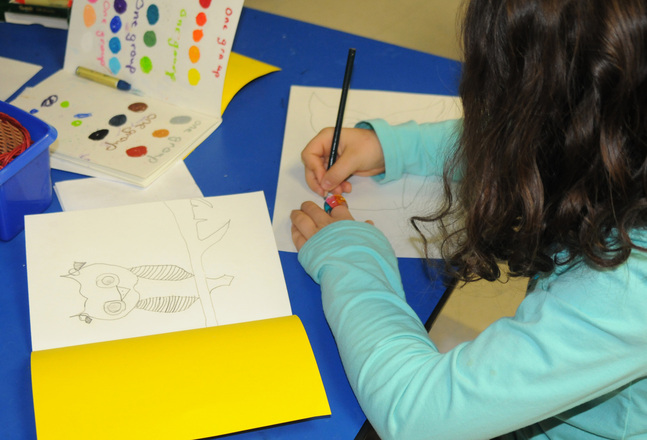 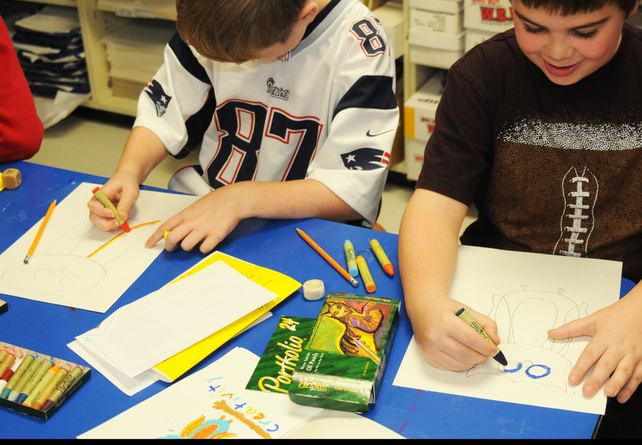 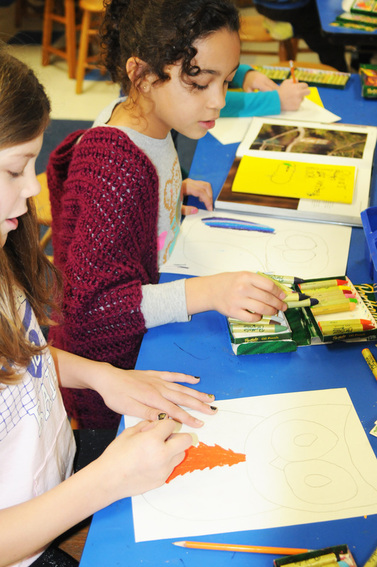 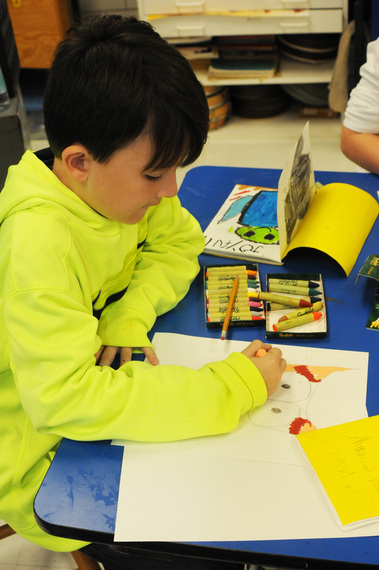 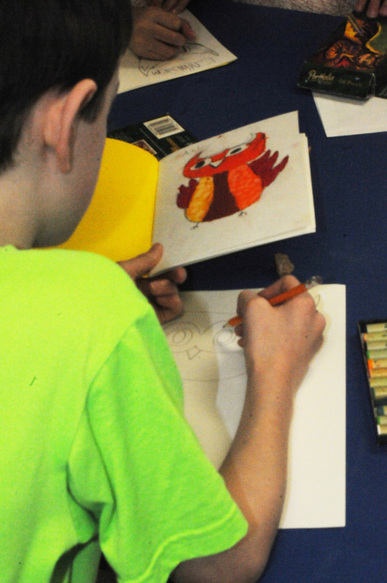 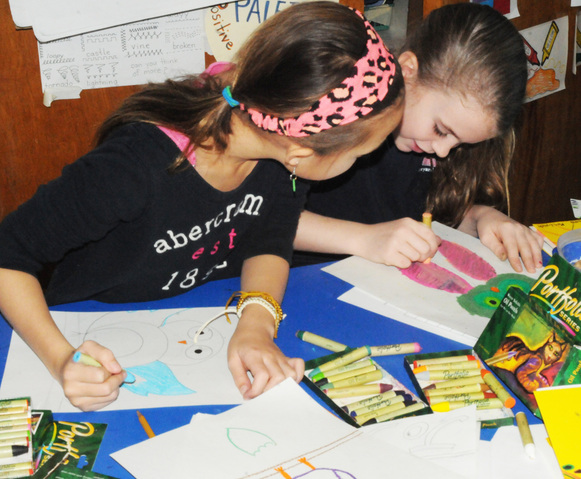 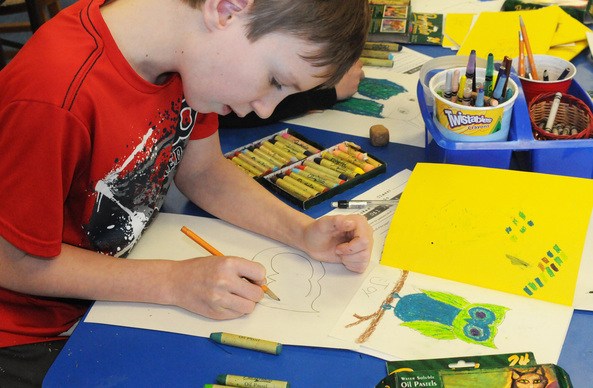 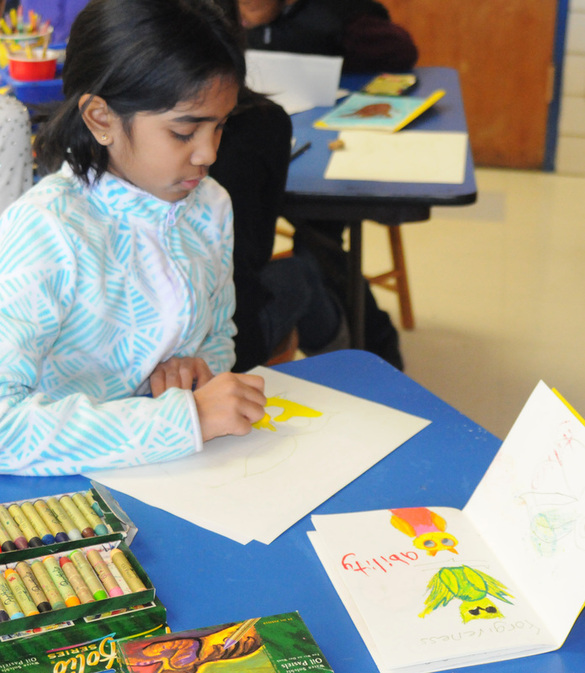 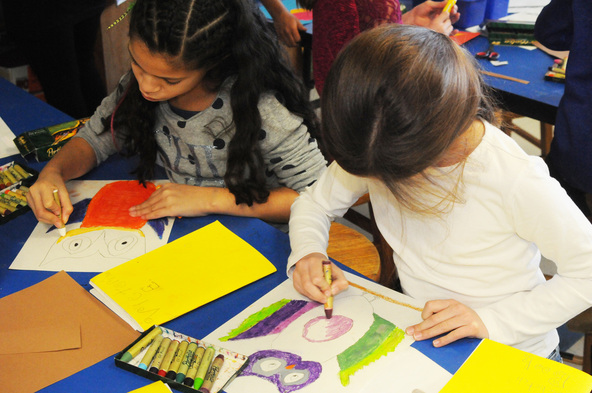 While in the mist of creating their beautiful owls, students had a special treat. Their music teacher, Mrs. Yanco, shared some very special pictures with us. Mrs. Yanco's son, Scott Yanco, studies owls in Colorado and had sent her some photographs that he had taken while he was working with the owls. Students got a close-up, first hand look at some real owls! Thank you, Mrs. Yanco and Scott! 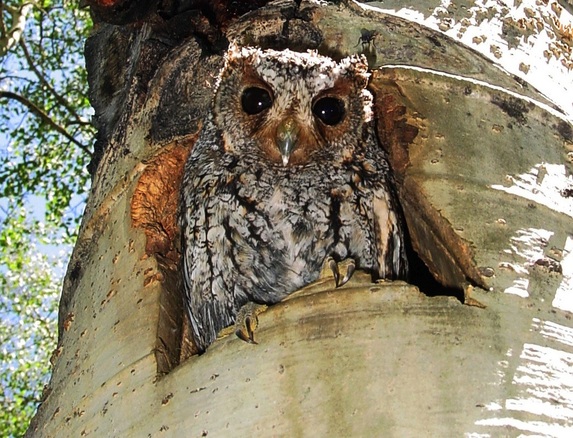  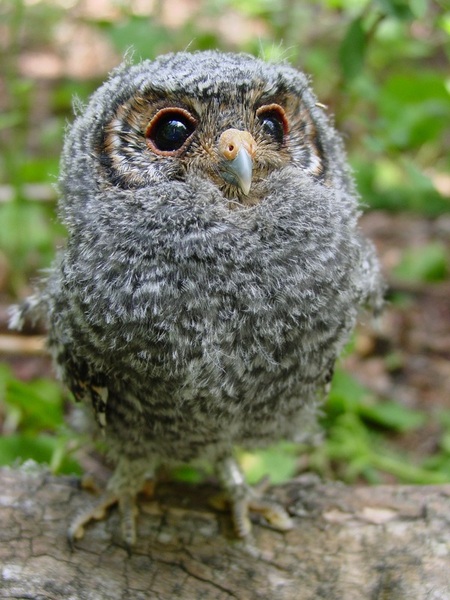 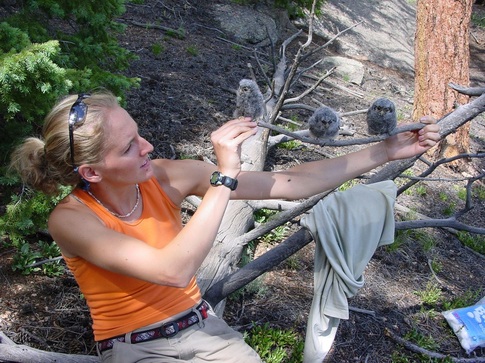 When students had finished coloring their owls, they next had to cut them out and choose a background to mount them on. The color of the background had to complement the colors of the owl. Here are some students using the color wheel to determine which color best complements their owl. 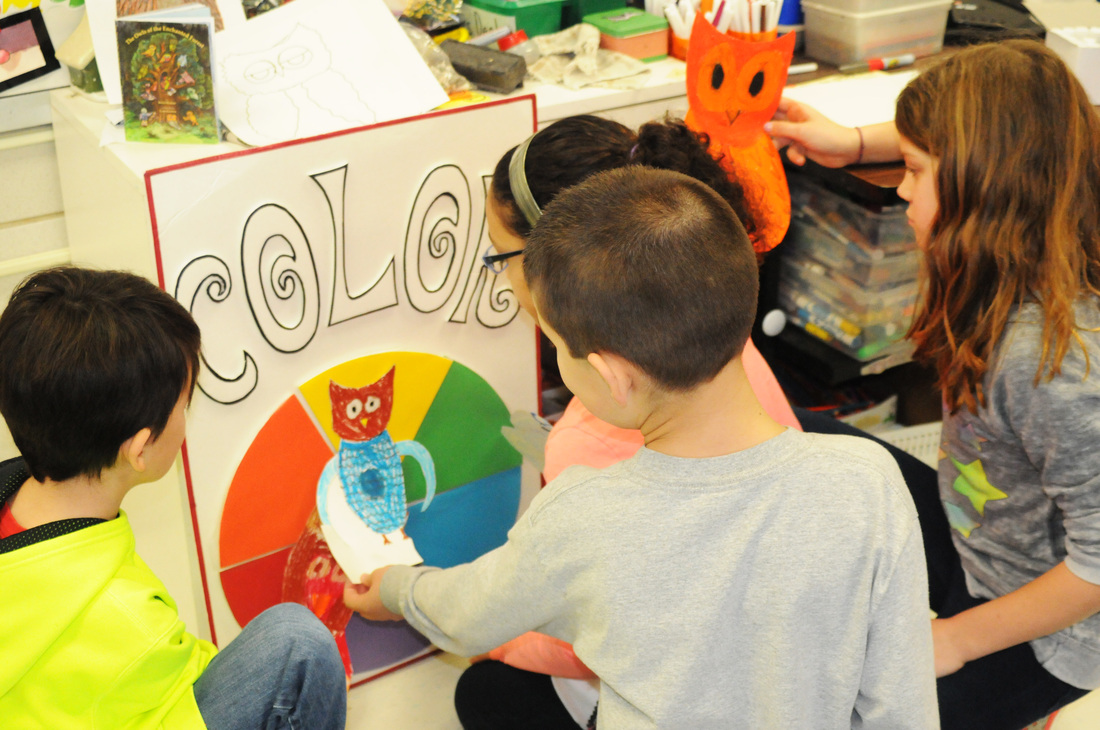 Once the background color had been decided upon, students glued the owl onto it, and then finished it off by adding the character trait that their owl represented, coloring elements into the background, and cutting out and gluing a branch for their owl to perch upon. 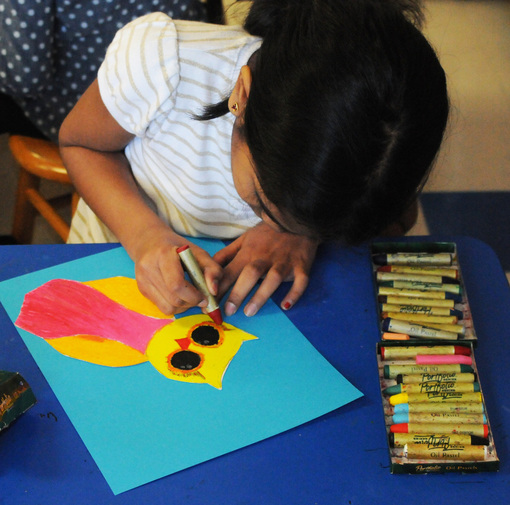 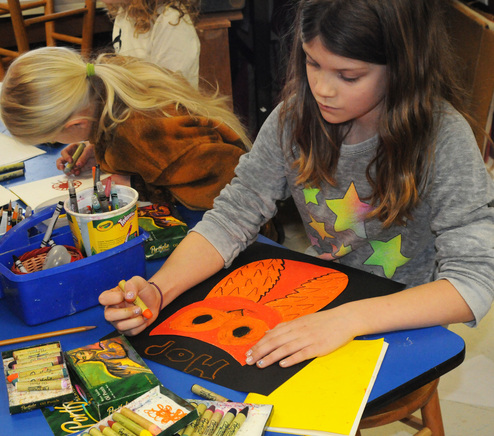 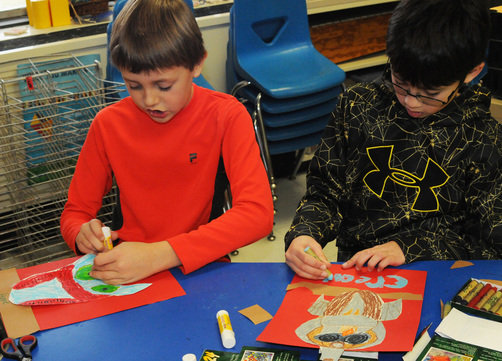 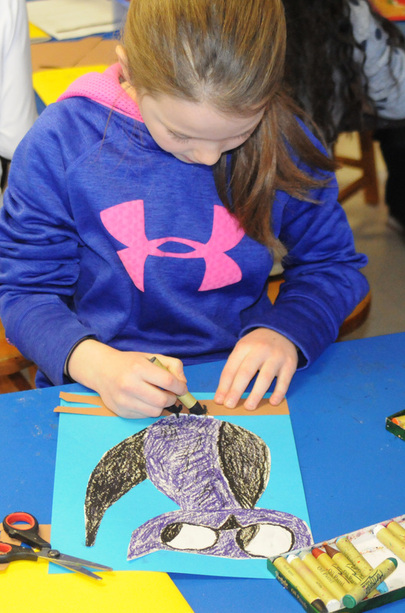 The last step was for students to write an artist's statement about their work. 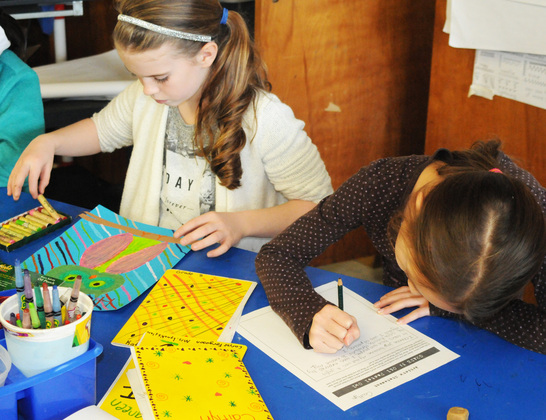 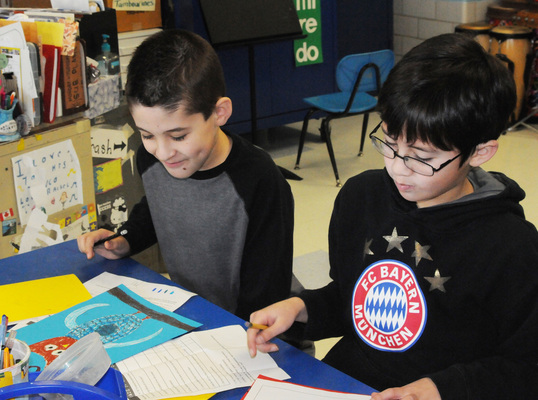 These owls came out absolutely amazing! I am so proud of each and every one of these third graders - their hard work and best efforts really show in the final product! Please make sure to visit our online Artsonia gallery to check out all of the owls and to read the thoughtful artist's statements that go along with them: Owls on Artsonia. You can even have your favorite artist's owl made into stationary, a magnet, or even put onto a t-shirt! Here's a sneak peak: 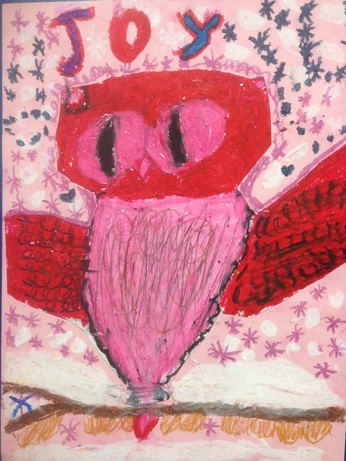 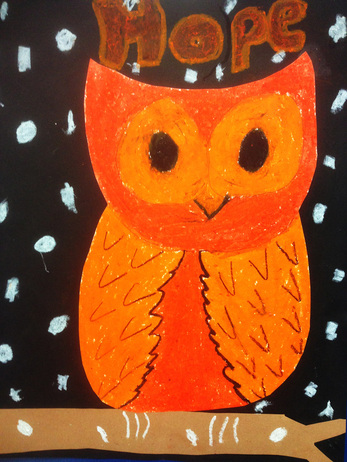 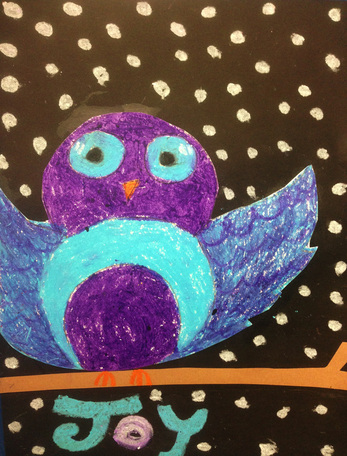 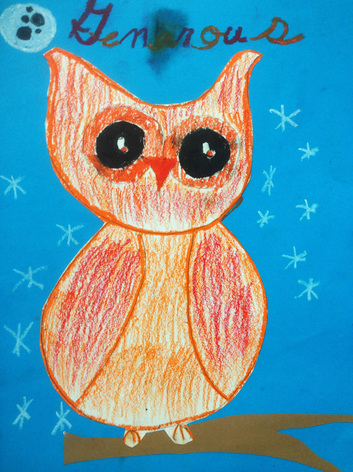 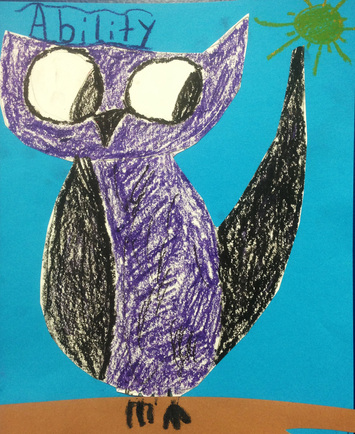 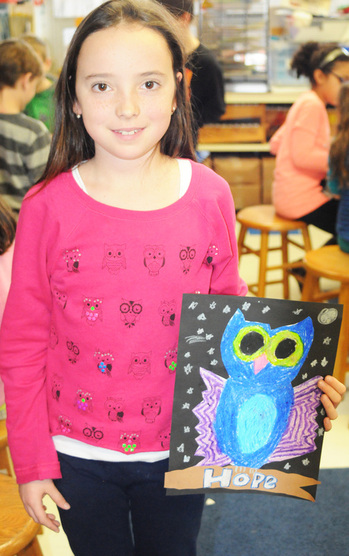 Third graders, you should all be very proud of yourselves, not only for your beautiful artwork, but for helping make the world a better place :-)
0 Comments
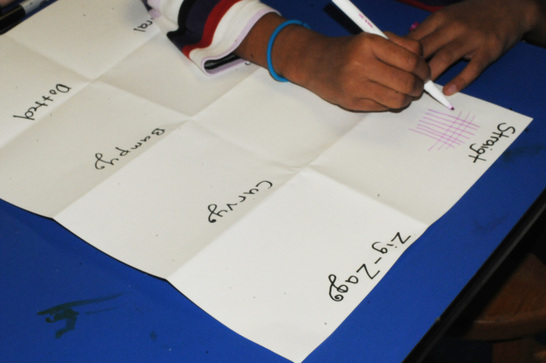
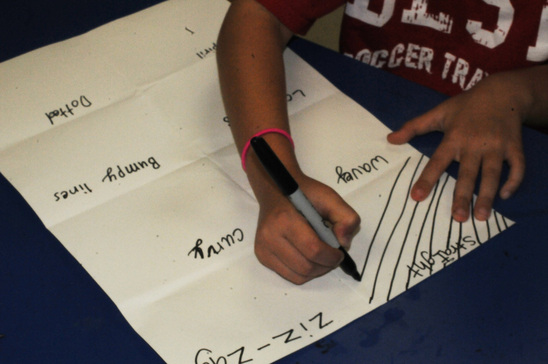
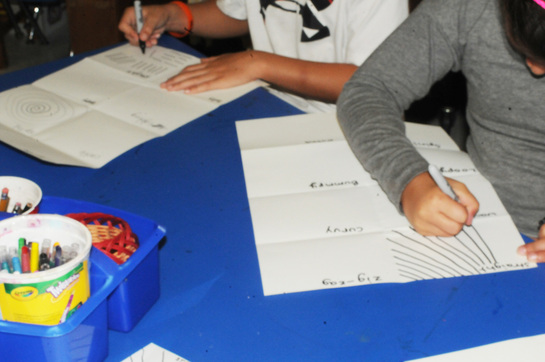
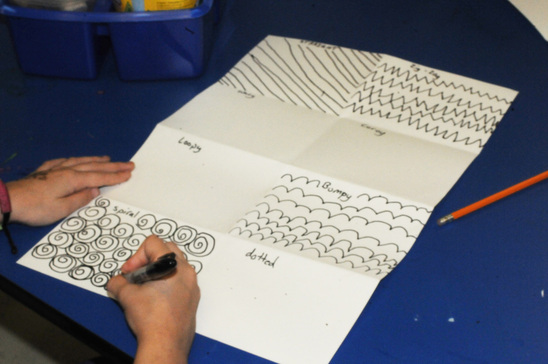
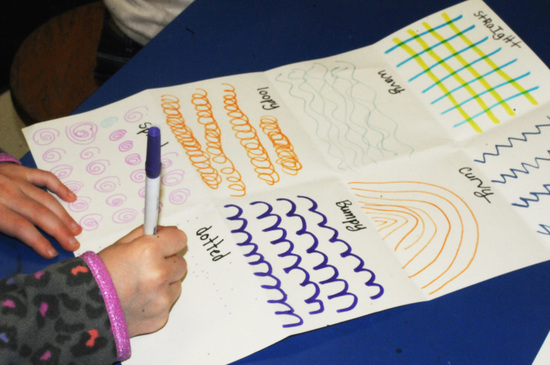
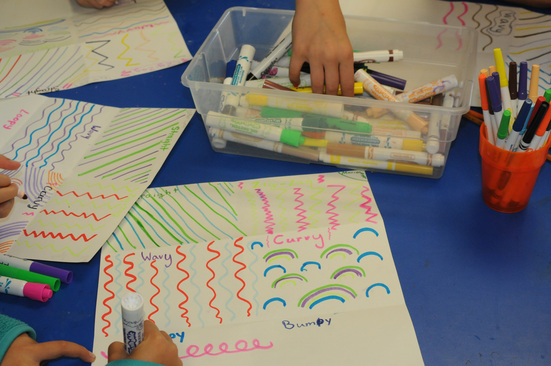
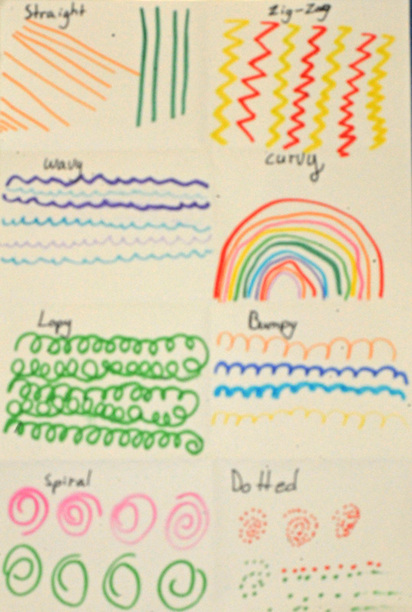
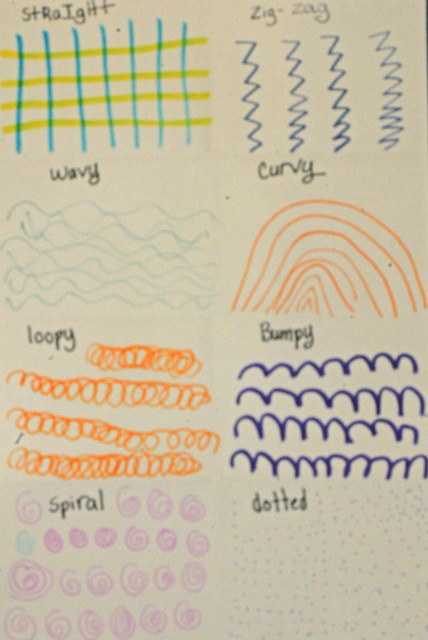
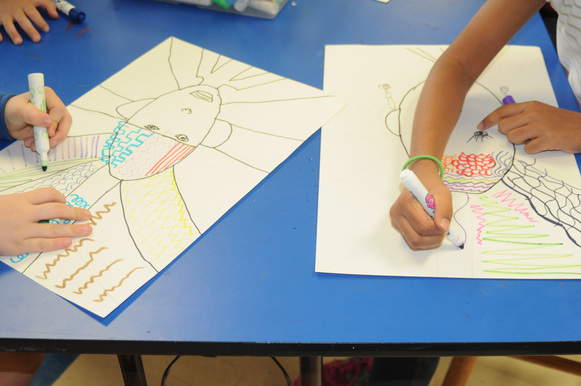
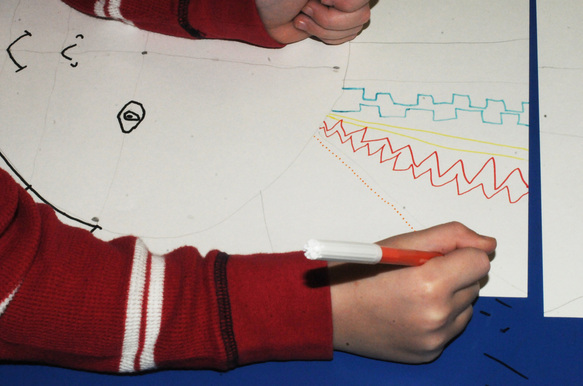
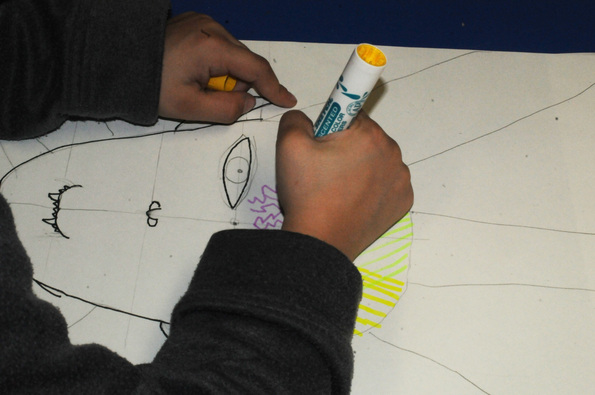
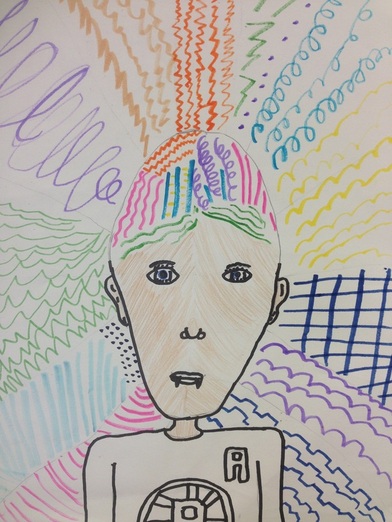
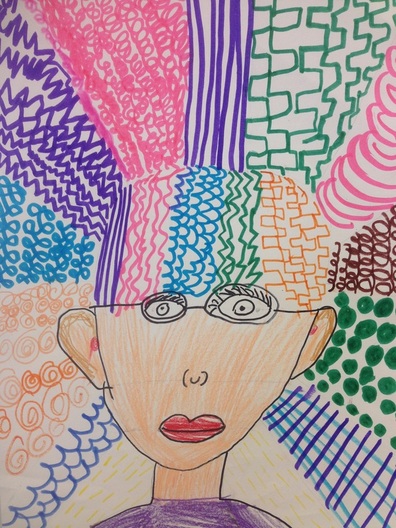
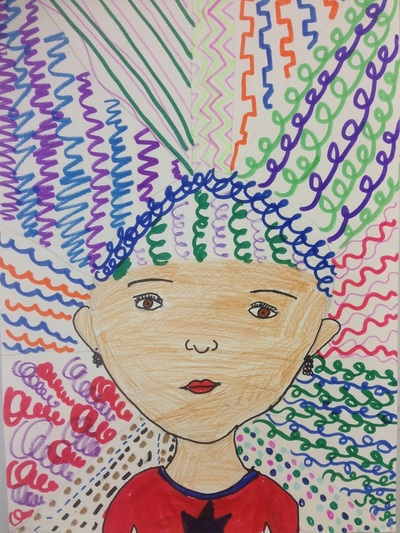
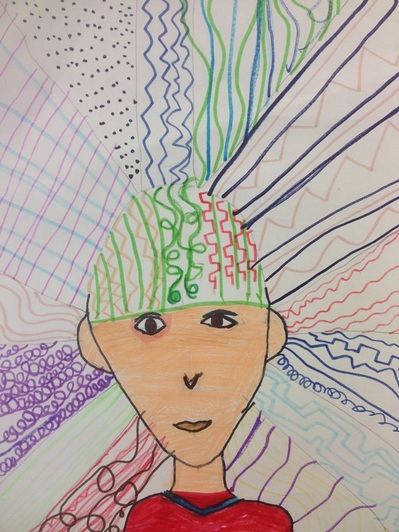
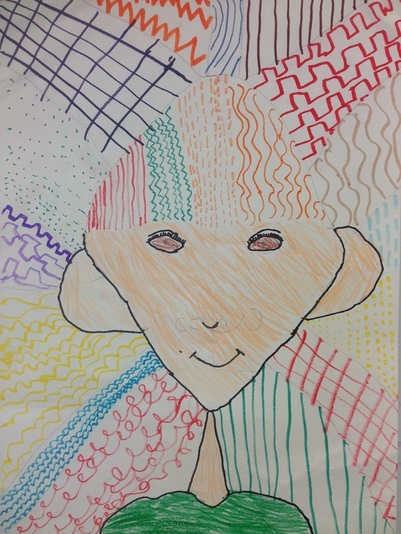
Third grade classes have been working very hard for the past few weeks as they furthered their exploration of line in art. Before beginning to create their artwork, students were given a refresher on different types of line: straight, curved, wavy, dotted, dashed, castle, zig-zag, loopy, thick, thin, etc. The exercise that followed involved students folding a piece of 9x12 paper into eight rectangles. Each rectangle was labeled with a different type of line, which students then drew repeatedly within the rectangular section. Students could choose to do use all black, or several different colors of their choosing. 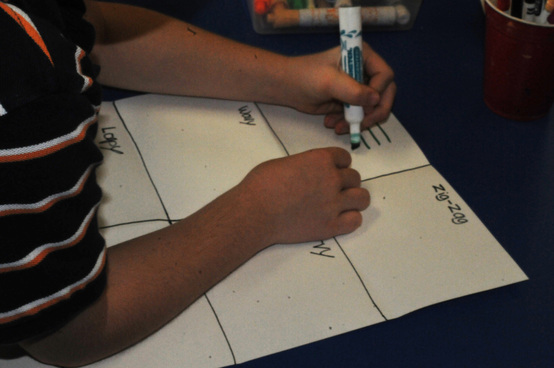
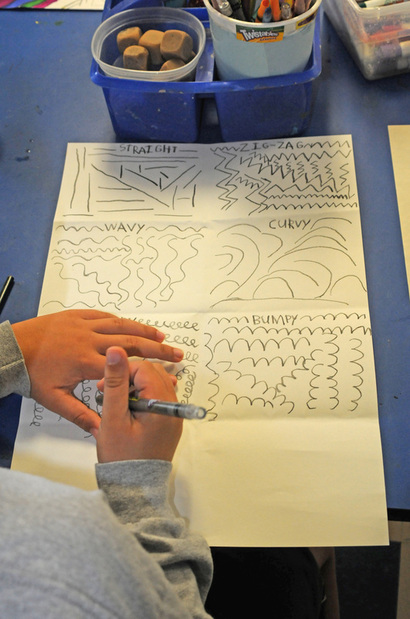

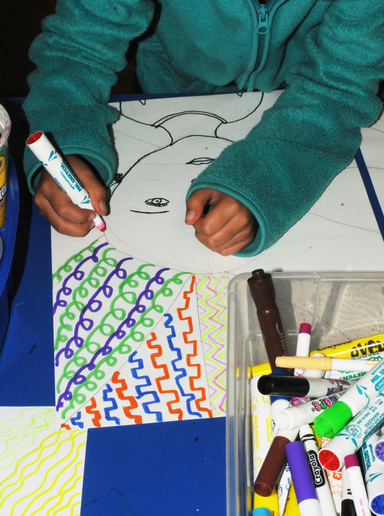
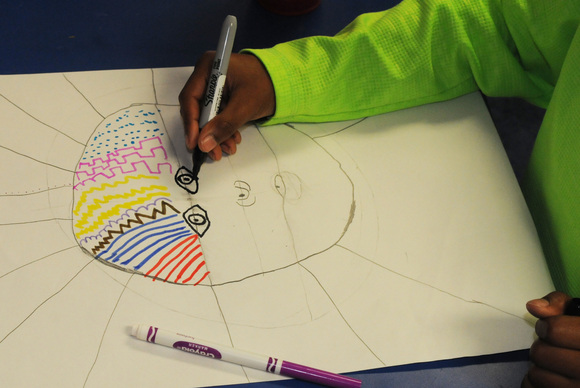
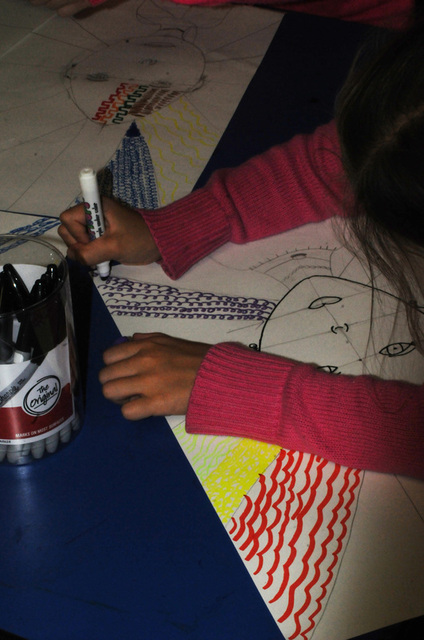
Once they finished the line exercise, students were introduced to their project: Crazy Hair. During the first lesson, students learned about the proportions of the head and drew their own accordingly. For the next lesson, students added a neck and shoulders to their heads, and divided the background into radial sections. Then, they began to create their "crazy hair" by filling the background sections with different types of repeating lines in each section. 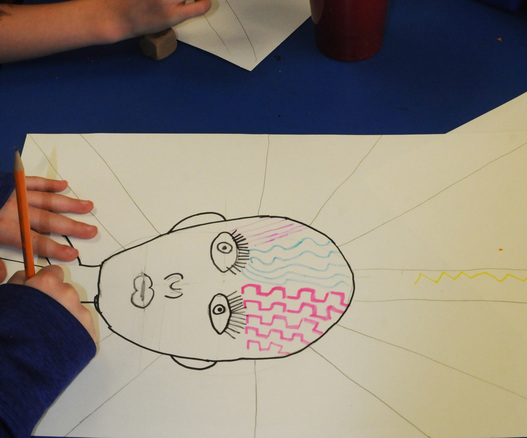
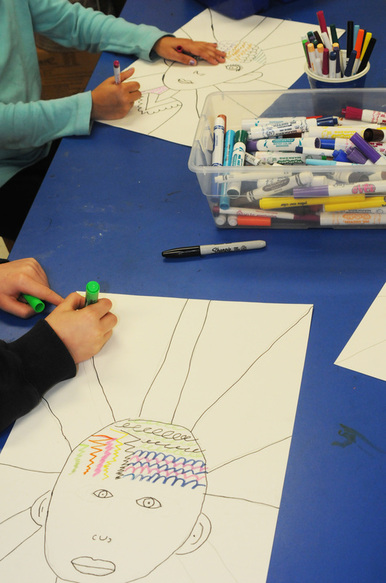
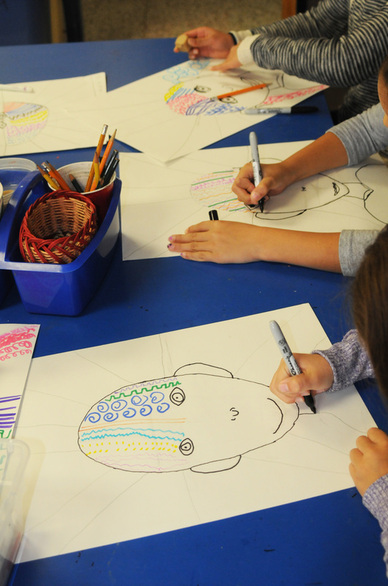
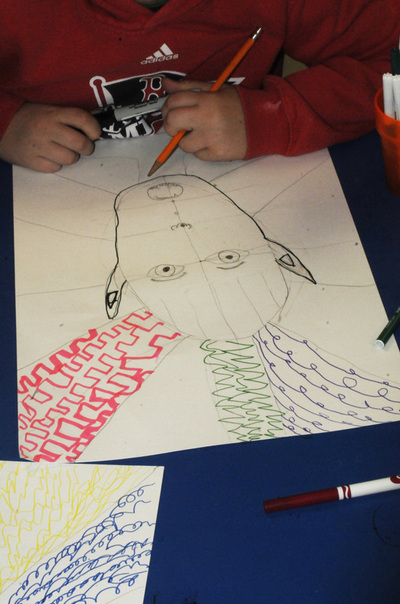
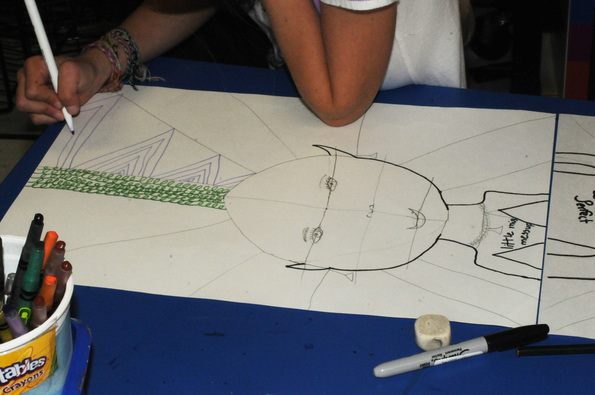
When all hair lines were complete, pencil guide lines were erased, and face color was added with colored pencils. 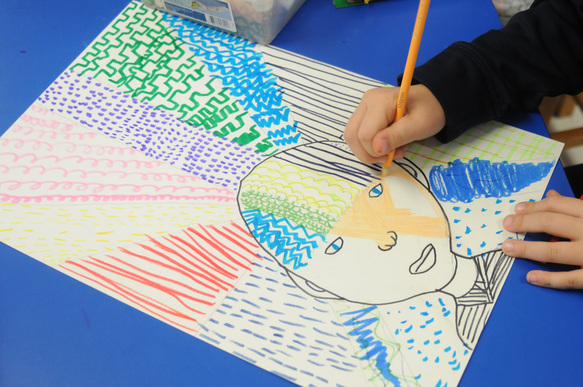
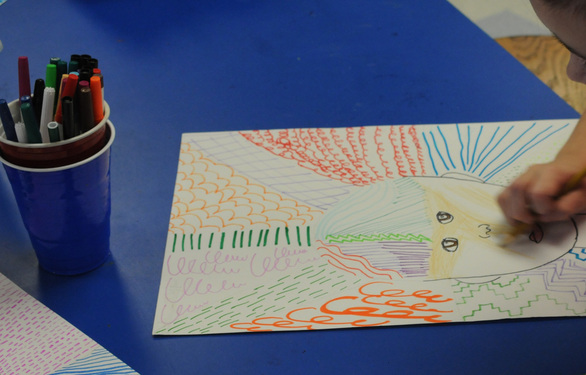
The final results were amazing! Please visit our Artsonia Gallery to see them all! 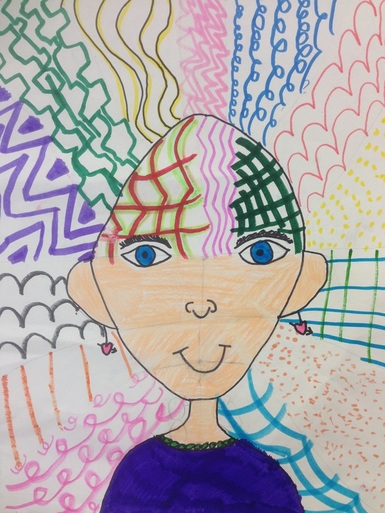

Excellent work, third grade!!
I am so happy that I will be your art teacher for your last year at Fales School! This year, you will use everything that you have already learned about art and take it even further, while learning new things at the same time. You are really going to amaze yourself when you see what you can do! When I was in Third Grade at Fales, my teacher's name was Mrs. Anderson, and Miss Vigeant was my art teacher. I was in room 11, and there wasn't an art room. Miss Vigeant came into the classroom and taught us art. It was so exciting and fun! Back then, Fales was grades 1-5, so I had two more years at Fales after Third Grade. Here is my school picture from Third Grade. What do you think? Does it look like me? 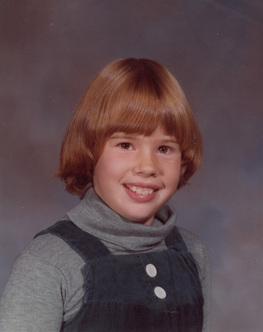 |